Congratulations on your engagement! As you prepare for your big day, you’ll likely be attending numerous events leading up to the wedding. Instead of splurging on professional makeup for each occasion, this tutorial will guide you through creating beautiful, camera-ready makeup looks yourself, ensuring you feel confident and radiant without a heavy, made-up appearance.
Prep Work
Before diving into the event-style makeup, start with your regular foundation and eyebrow application. This familiar routine provides a solid base for your enhanced look.
- Note: Ensure your foundation matches your current skin tone, adjusting shades with the changing seasons for a flawless finish.
Eye Shadow: Adding Glamour
Eye shadow is where the fun begins! This is where you can elevate your look from everyday to event-glam. Choose three neutral colors that complement your skin tone.
- Apply a transition shade, like MAC “Kid,” all over the lid.
- Add depth with a slightly darker shade, such as MAC “Cork,” in the crease.
- Highlight the brow bone with a light shade, like MAC “Brule.”
- Top the center of the lid and inner corners with a shimmery shade, like Stila “Kitten,” for a glowing effect.
- Note: Neutral colors are foolproof! They blend seamlessly, so mistakes are easily fixed. When in doubt, go neutral.
Eye Liner: Definition is Key
Eyeliner is essential, especially for photos, providing that defined eye look.
- Start with a brown eyeliner, such as NARS “Last Frontier” High-Pigment Longwear Eyeliner, creating a basic top line, slightly thicker towards the end.
- Layer a black liquid liner, like Morphe Felt-Tip Liquid Liner, on top of the brown to enhance definition. The brown liner acts as a guide for a perfect line.
- Note: Experiment with different eyeliner types and placements to find what you prefer. Brown, black, pencil, liquid, or shadow all create unique looks.
Mascara: Dramatic Lashes
Mascara defines your eyes and adds a glamorous touch.
- Use a waterproof mascara, like Milk Kush Mascara, to prevent smudging during events.
- Curl your lashes before application for added lift.
- Apply several coats, focusing on the ends of the lashes for maximum impact.
Bronzer: Sculpt and Define
Bronzer sculpts and shapes your face.
- Use a matte bronzer, like MAC “Matte Bronze,” to avoid unwanted shimmer.
- Apply to your cheekbones, starting at the ear and blending downward.
- Add bronzer to your hairline and nose for added definition, if desired.
- Note: Use a skinny brush to define your nose contour further.
Blush: A Romantic Touch
Blush adds a youthful, sweet, and romantic feel to your makeup.
- Use a blush like Kylie Cosmetics “Baddie on the Block.”
- Apply to the apples of your cheeks, blending towards the bronzer.
- Blend with your foundation brush, if needed, for a seamless finish.
Lips: Completing the Look
Even if you’re not a big lipstick fan, wearing something on your lips is crucial. Without it, your lips may disappear in photos!
- Line your lips with a nude lip liner like NYX Slim Lip Pencil in “Mauve.”
- Top with a natural-toned lipstick, such as MAC “Angel,” for a subtle yet beautiful color.
Highlighter: The Finishing Glow
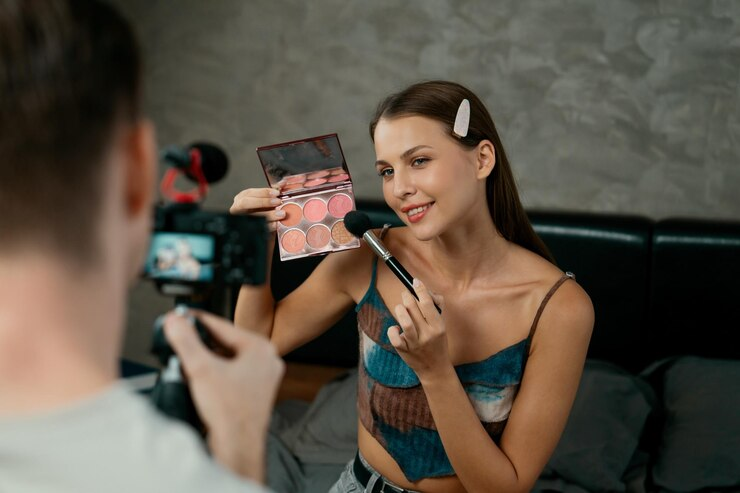
Highlighter adds a radiant glow to your makeup.
- Apply to the high points of your face, such as the top of your cheekbones and a bit down your nose.
- Use a light hand – a little goes a long way!
Final Thoughts
The most important tip for doing your own event makeup is to practice beforehand! There’s nothing worse than feeling uncomfortable with your makeup at an event. Take the time to experiment with different products and techniques to ensure you feel 100% confident in your look. With practice and patience, you’ll create stunning makeup looks that make you feel beautiful and ready for any wedding event. Good luck, and enjoy the celebrations!