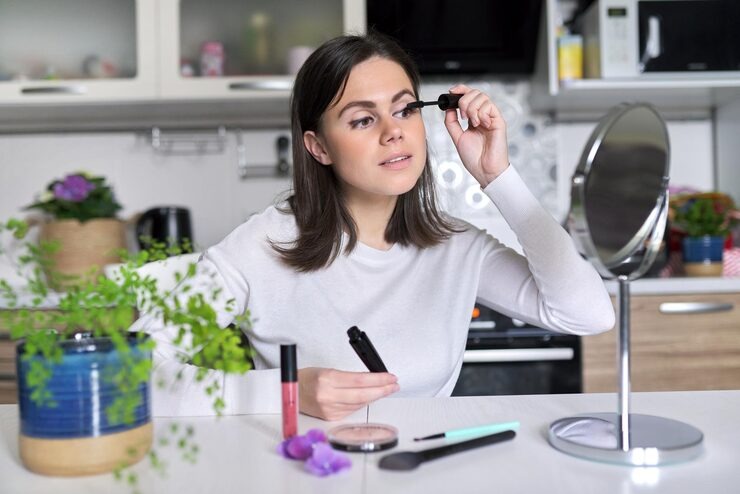
Most people who give up on doing their own lashes don’t actually have a product problem, they have a technique problem, and nobody ever properly walks them through it before they try. They watch a fifteen second clip online, assume it looks simple enough, and then wonder why their first attempt looks nothing like what they just watched. Application is a skill like anything else, and skipping the basics is usually what turns a good set of lashes into a wasted one.
The frustrating part is that most of these mistakes are small and completely avoidable once someone explains them properly, rather than just showing the finished result and leaving out the parts that matter.
Starting With Lashes That Are Actually Ready
Before any glue or cluster comes near your eyes, your natural lashes need to be genuinely clean and product-free. Leftover mascara, oil from moisturiser, or residue from the day before all interfere with how well a cluster bonds, no matter how good the adhesive is. A quick wipe with a lash-safe cleanser and a few minutes to fully dry makes a bigger difference than most beginners expect.
Skipping this step is one of the most common reasons a set that looked fine when applied starts lifting within a few hours. It’s tempting to rush straight to application, especially when you’re getting ready in a hurry, but this preparation stage is genuinely where a lot of the eventual staying power gets decided, long before the first cluster ever touches your lash line.
Getting the Actual Placement Right
Once you’re properly set up, understanding how to apply cluster lashes comes down to working in the right order rather than just placing clusters wherever feels easiest. Start from the outer corner and work inward, since the outer lashes establish the overall shape and angle the rest of the set will follow. Placing clusters too close to the waterline causes irritation and poor adhesion, while placing them too far up leaves an obvious gap that undermines the whole natural effect you’re going for.
Take your time with each placement rather than rushing to finish the full set quickly. Pressing gently and holding each cluster for a few seconds while the adhesive begins to set makes a noticeable difference to how long the whole look lasts. Rushing this part is exactly where a lot of otherwise decent sets start going wrong, with clusters sitting slightly crooked or gapping within the first day.

Why the Glue You Choose Changes Everything
Technique only gets you so far if the adhesive itself isn’t up to the job. A weak or poorly formulated glue undoes even the most careful application, causing clusters to lift regardless of how well they were placed to begin with. This is exactly why so many people blame their technique for a bad result when the actual issue was sitting in the applicator the whole time.
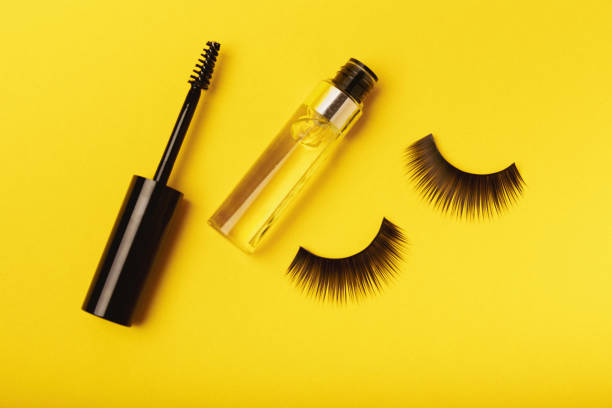
Finding the best lash bond and seal genuinely changes the outcome more than any single technique tip could. A proper bonding stage secures the cluster firmly, while the sealing layer locks everything in place against moisture, oil, and general daily wear. Getting this one product right tends to fix problems that people had spent weeks trying to solve through technique alone.
Letting the Set Settle Before You Judge It
One mistake almost nobody warns beginners about is judging the result too soon. Fresh adhesive needs time to properly cure, usually a few hours, and touching, rubbing, or getting the lashes wet during that window can undo even a technically perfect application. Patience in these first few hours matters just as much as the application itself.
Avoiding steam, heavy sweating, or oil-based products during this settling period gives the bond the best possible chance to hold for the full wear time. It’s a small window of extra care that a lot of people skip simply because they don’t know it matters, and it’s often the missing piece between a set that lasts a day and one that comfortably lasts a full week.
Why Getting the Basics Right Changes Everything Else
Once someone understands preparation, placement, and adhesive properly, the whole process stops feeling unpredictable. What used to feel like a gamble each time becomes a routine they can rely on, with results that look roughly the same set after set rather than varying wildly depending on luck. Most people who think DIY lashes just aren’t for them simply never had someone explain these basics properly in the first place.
Sultry Lash Bar built its whole approach around pairing genuinely good clusters with adhesive designed specifically to work with them, rather than treating the glue as an afterthought tacked onto a lash kit. That combination is usually what turns someone’s third or fourth disappointing attempt into a set that finally holds properly from morning to night.
FAQs
- How to apply cluster lashes for a natural-looking finish?
Start with clean, dry lashes, position each cluster carefully along the lash line, and use the appropriate bond and seal according to the product instructions.
- What does the best lash bond and seal do?
The best lash bond and seal helps attach lash clusters securely while providing a finishing layer designed to support hold and maintain the overall appearance.
- How should beginners approach cluster lash application?
Beginners can start with smaller clusters, work from the outer corner toward the inner area, and check placement as they build their desired lash style.
- How can I make cluster lashes stay in place?
Use a compatible adhesive system, apply an appropriate amount, position clusters carefully, and follow the recommended setting time for the bond and seal.
- Can cluster lashes be customized for different eye looks?
Yes. Varying cluster lengths and placement can help create subtle definition, added volume, or more dramatic effects depending on your preferred appearance.